We need to understand cracks first. Crack is a line on the surface of something along which it has split without breaking apart. Cracks in plaster walls are generally caused as a result of settlement, vibration or atmospheric conditions, but some may due to faulty construction. Let me explain briefly the reasons that lead cracks in plaster walls. This explanation will helps you to address the root causes while constructing any other building.
How Cracks Form
Generally, the most obvious reason for cracks is settlement. Settlement does not only mean that foundation gets settled and it leads to cracks in building. Settlement is a very large term and is not only limited to the foundation. It can also occur because of material you have used for brick masonry. If curing of brick masonry not done proper before plastering, then it also leads to cracks in walls. Every material has specific curing time. Walls should be cured minimum 7-days before any other activity. Areas where temperature is high, need curing of exposed areas directly to sun light after every two hours. Make sure water in binding material only used for bond formation and not become a part of evaporation. If water gets evaporate then ultimately bond formation will become poor and as time passes, material will fail to carry load and starts deterioration of binding material. In such case, particles gets separate and above brick layer settled down and ultimately displace the entire layers above that weak point.
Second most obvious reason is vibration. Sources of vibrations are natural disasters like earth quake, some road construction nears your property premises, installed heavy duty equipment at your home without vibration absorber pads and sometime nail you are fixing with wrong tool.
Third most obvious reason of cracks is atmospheric conditions. Some materials lack properties that able to survive in winter as well as in summers. So what happen is that some materials gets shrink in winter and expand in summers. Sometimes the door or window frames not properly fixed and available room for free movement. In such case, every time door you closed the door have a direct impact on the door jamb. This also propagate cracks in walls.
Whatever the reason, if cracks appear, you only left with option of repairing it. In order to repair the cracks, first detail inspection is required around doors, windows, moldings and corners. First address the root cause by fixing hairline cracks that may get larger with time. Repairs to settlement cracks will not need further attention. Vibration cracks are generally small and will probably required periodic repair. Cracks caused by atmospheric conditions may be prevented by controlling temperature. Cracks due to faulty construction usually will not recur if the cause is eliminated.
What you need for repairing Cracks:-
- Blade for widening of cracks.
- Patching material generally putty
- Painting brush
- Paint scrapper
- Flexible putty knife for filling
- Fine grade sandpaper
Cracks Repair Methodology
Follow the steps for fixing of cracks:
1. Use blade or putty knife to enlarge and undercut opening to provide grip for filler. If filler material used in very small proportion then strong bonding will not form and if it is too much, then also not recommendable. In second option, go for plastering first.

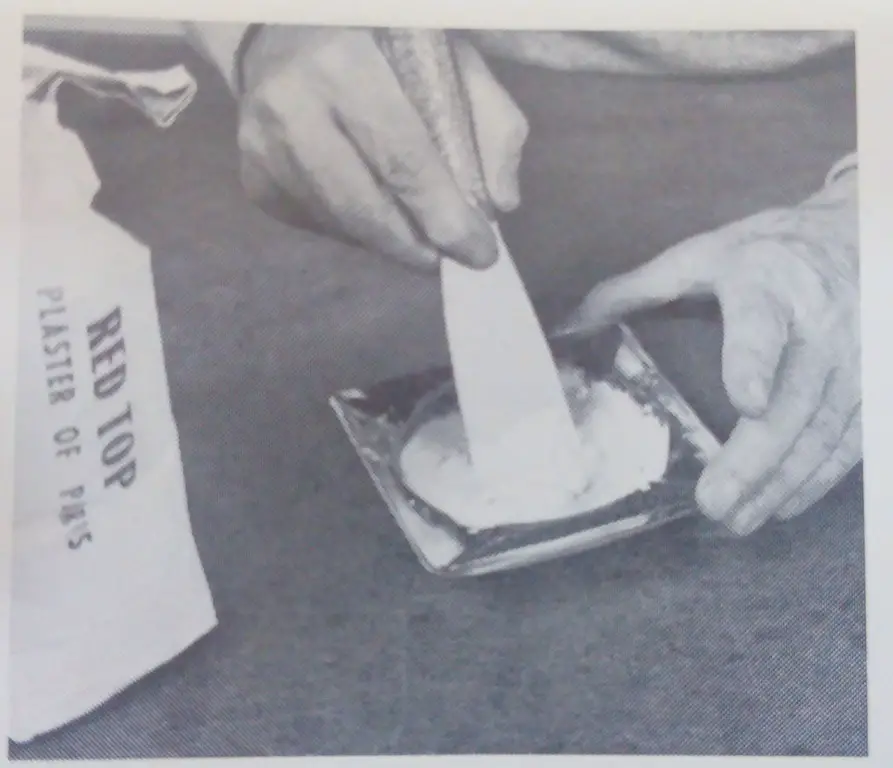
2. Prepare the patching material to fill the crack; mix to a thick, buttery consistency for immediate use. Ready made putty is available almost everywhere. You just need to mix it with water.
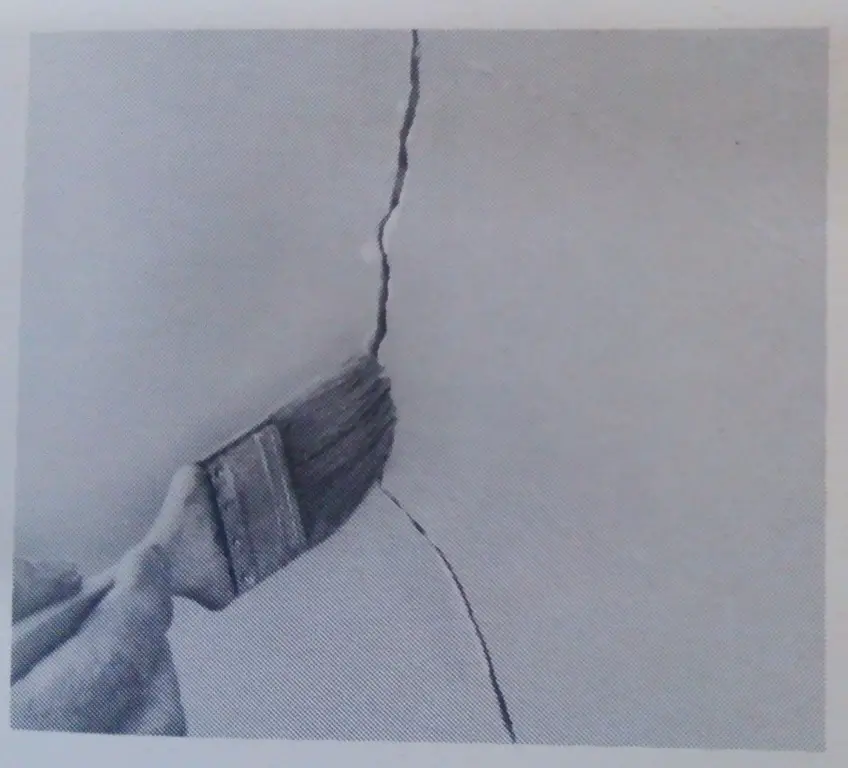
3. Dampen the surface with the help of brush or spray to the full depth of the opened crack. Make sure water reaches the far end of crack. The better you dampen the surface the more complete bond will form.
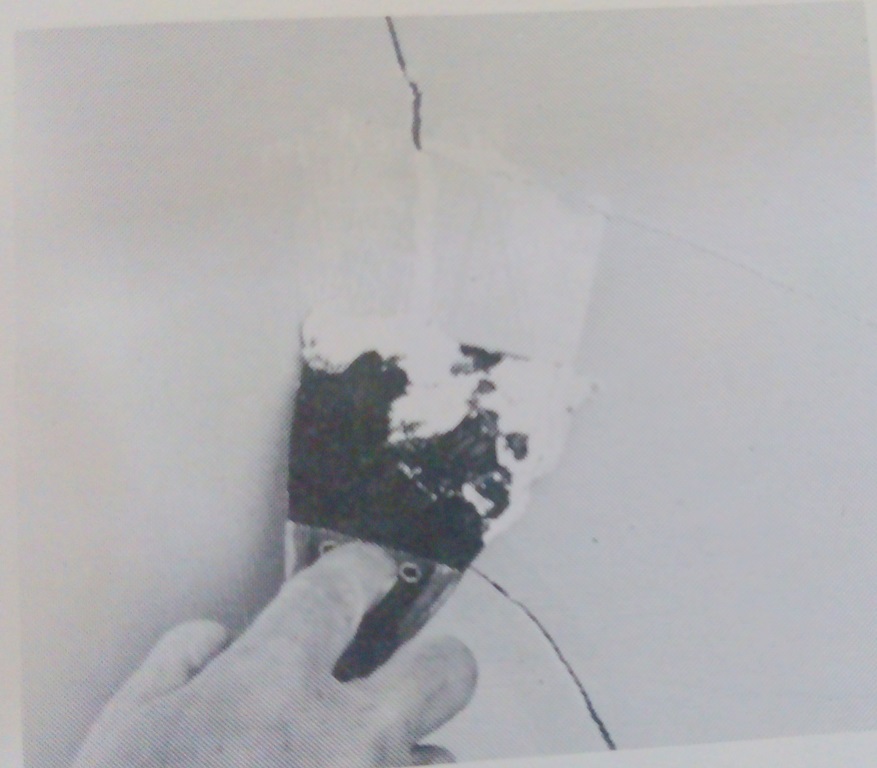
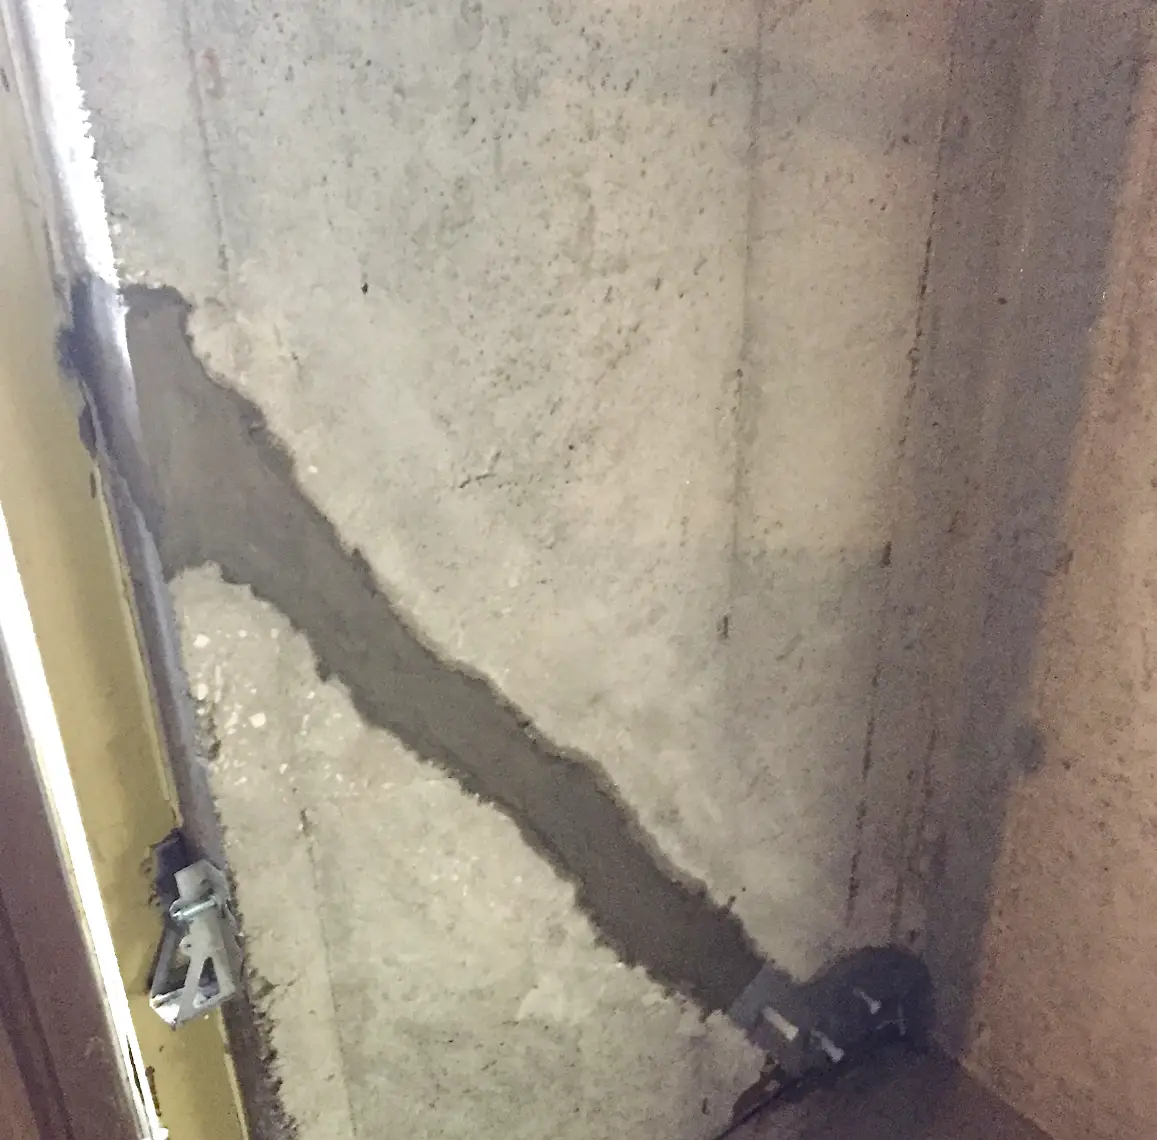
4. Fill the opening completely with patching material (putty) by using flexible putty knife. At the end remove excess and flatten it on the wall with the help of paint scrapper.
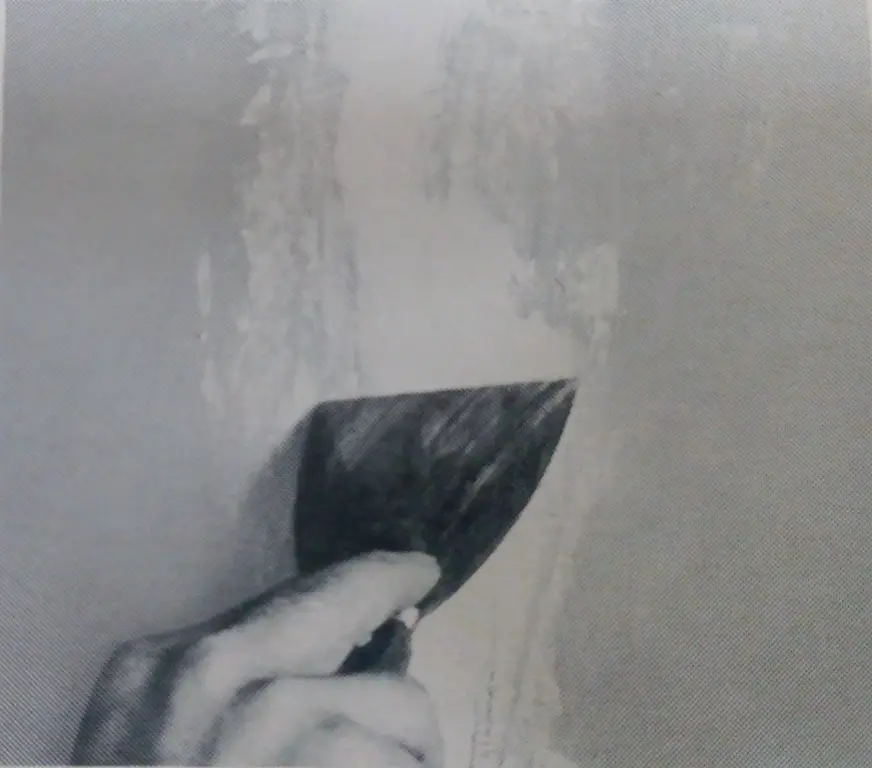
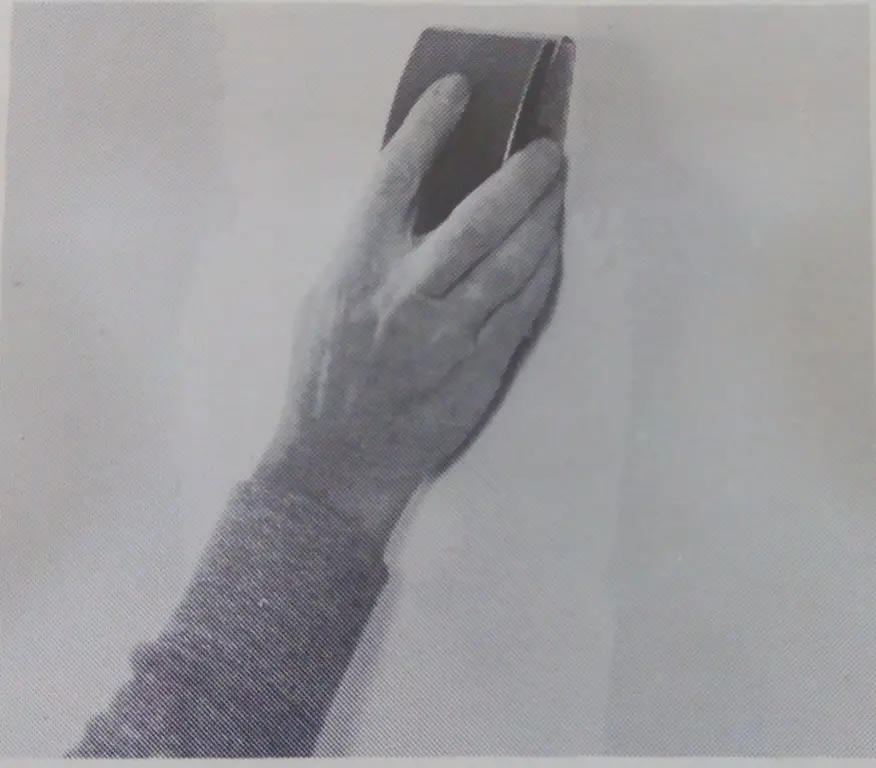
5. Smooth the patch surface by using fine grade sandpaper. Make sure it gets level with the surrounding surface. If there is still gap between crack layer and surrounding, then apply second filling coat and let it dry. Once it get dry, again apply sand paper. Dust the surface and observe for any discrepancies.
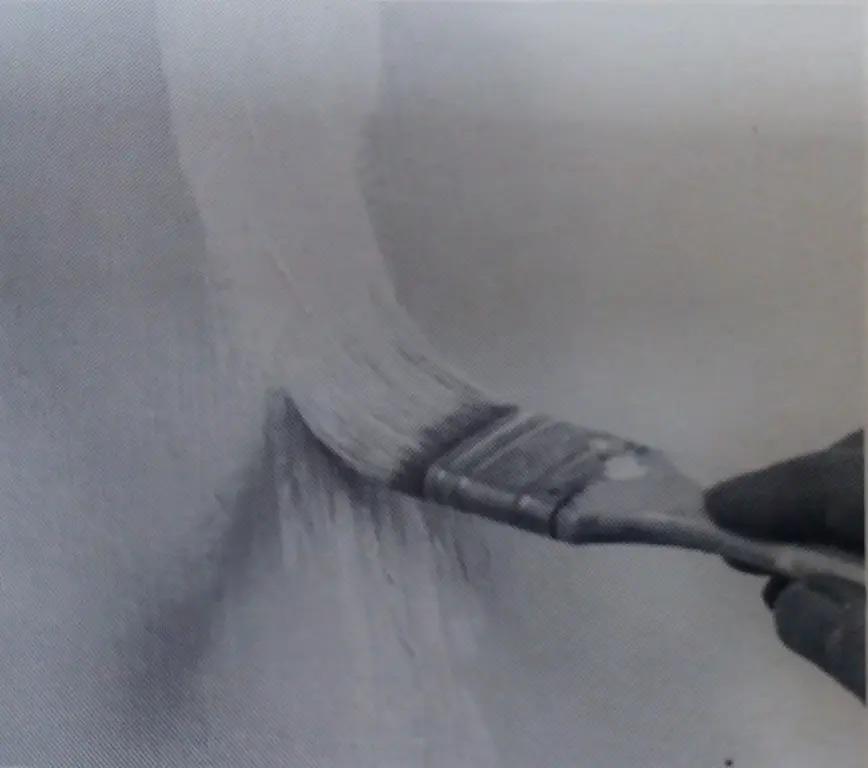
6. Once repaired patch dried, apply prime coat over the filled-in crack and surface surrounding area. This will hide the repaired area and gives a fine smooth finishing.
7. If you are patching a large crack, then undercut it, remove all the loose plaster and dampen the surface like similar to small crack.

8. Mix a batch of plaster and fill the cavity. Allow a drying time of 24hours. Shrinkage may occur during drying.
9. In case shrinkage occurs, dampen again the patch area and fill cavity with fresh filler. Let dry. Sand smooth and at the end apply prime coat.